Great Expectations Integration
Infor Flow allows data validation using Great Expectations. Great Expectations uses a unique tool to automated testing, also known as “pipeline tests”, which focuses on giving teams an analytical integrity and on helping with the management of complex codebases. Pipeline tests are like unit tests for datasets: they help you protect from upstream data changes and monitor data quality. Essentially it accelerates the ETL and data normalization process and automates verification of new data deliveries.
Creating Expectation Suites
To create expectation suites, user need to pass following 3 parameters
Root directory for configurations
Filename for YAML file containing credentials. e.g. credentials.yml
Filename for CSV file containing modules information. e.g. modules.csv
docker run -v /local_path_to_conf_dir:/ion-workflow/conf -v /local_path_to_great_expectations_dir:/ion-workflow/great_expectations fellowconsulting/inforion great_expectation create -b /ion-workflow/conf -c credentials.yml -m modules.csv
with docker run you can run your image as a container
-v we are mounting our local directory to docker container, so it can use files from this directory
with create we are telling the library to create great expectation suites
List Expectation Suites
To view all great expectation suites
docker run -v /local_path_to_conf_dir:/ion-workflow/conf -v /local_path_to_great_expectations_dir:/ion-workflow/great_expectations fellowconsulting/inforion great_expectation list -b /ion-workflow/conf -c credentials.yml
Update Expectation Suites
To update great expectation suites
docker run -it -p 8080:8080 -p 8888:8888 -v /local_path_to_conf_dir:/ion-workflow/conf -v /local_path_to_great_expectations_dir:/ion-workflow/great_expectations fellowconsulting/inforion great_expectation update -b /ion-workflow/conf -c credentials.yml -s [suite_name]
with s we are telling which suite we want to update
Great Expectations Example
You can access Great Expectations by copying the last link provided by the outcome command (Update Expectation Suites). You should enter this link in your web browser to be able to acces Jupyter Notebook, an open-source web application. If you have entered as suitename, Kunden for example, you should get something like this:
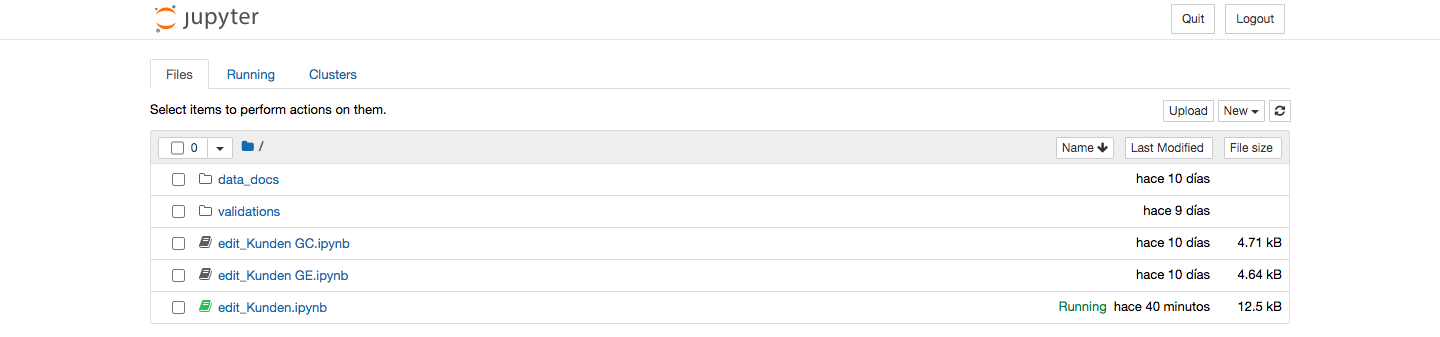
Now you can edit any of the shown above suites expectations. In this case, as an example, we are going to edit “edit_Kunden.ipynb”.
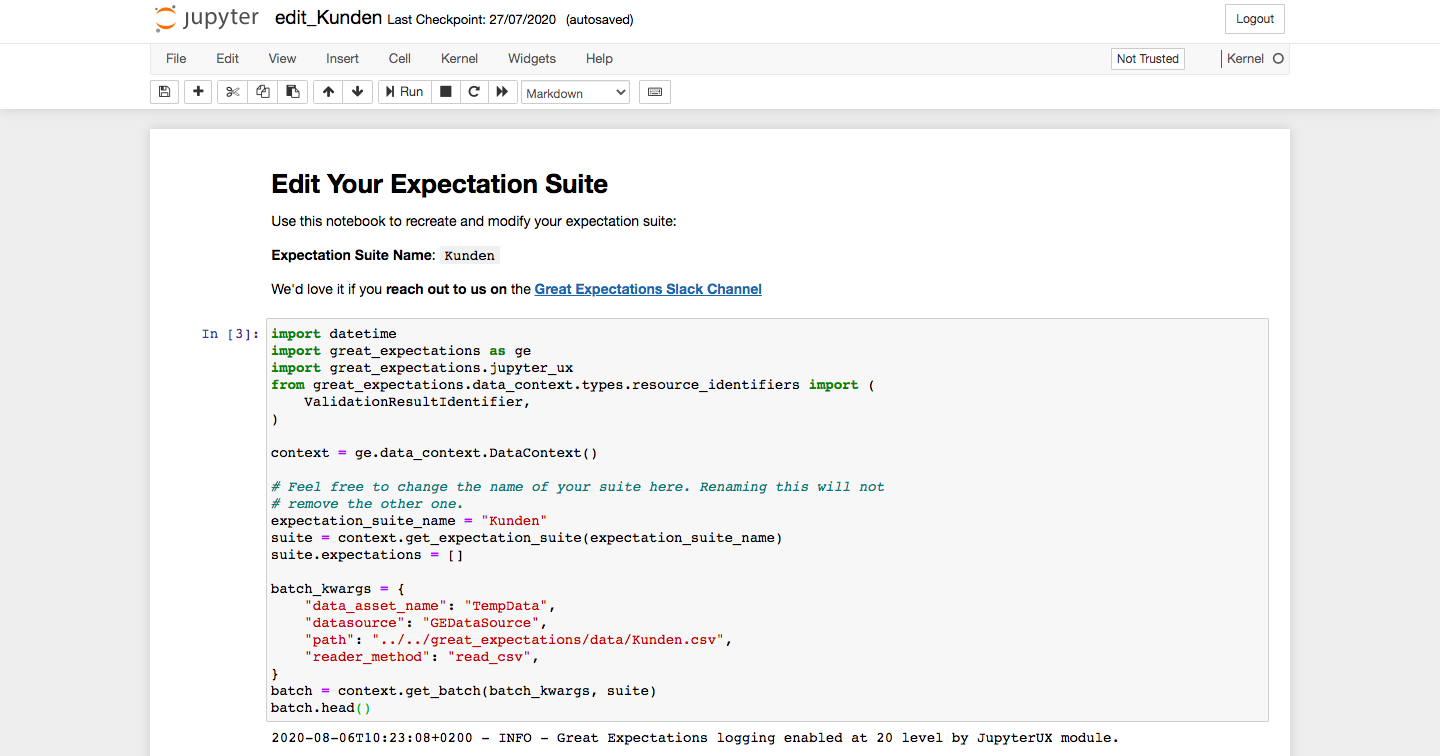
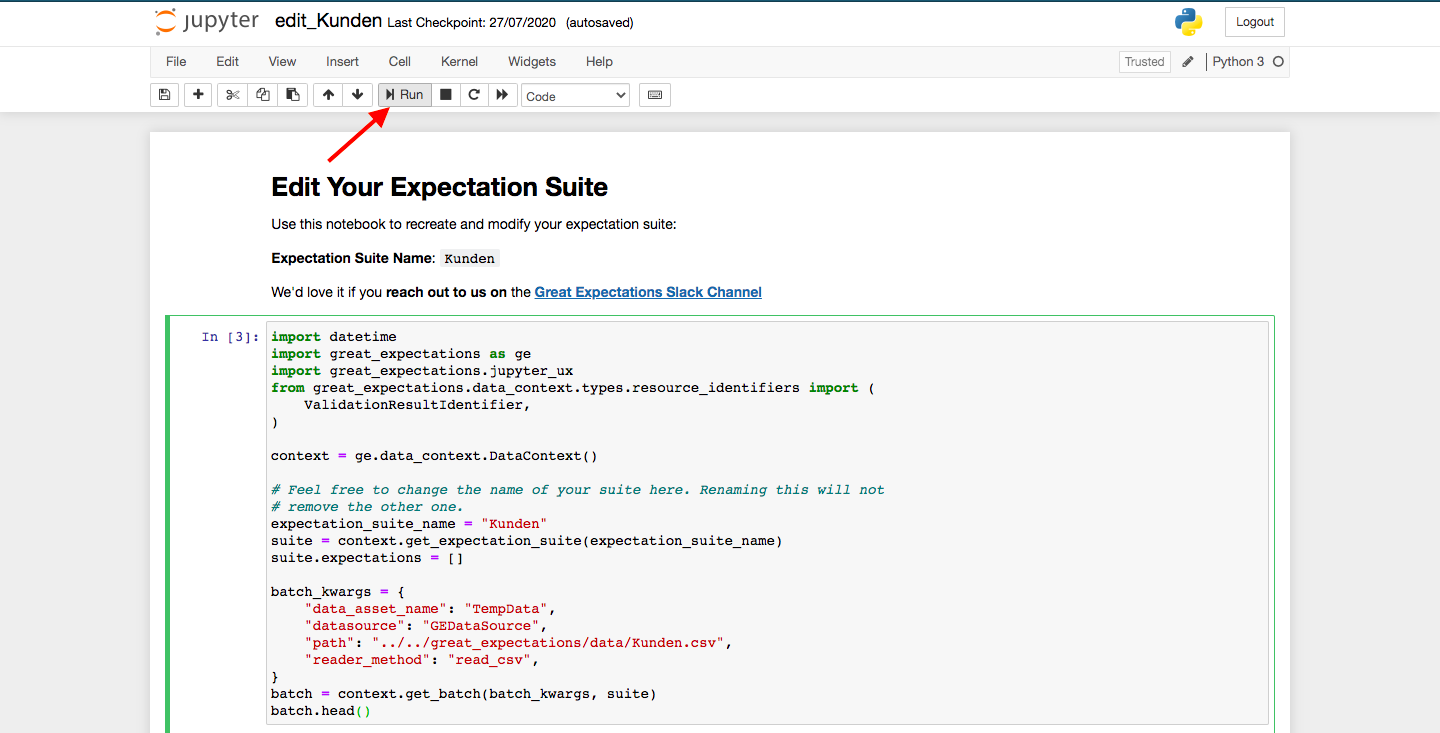
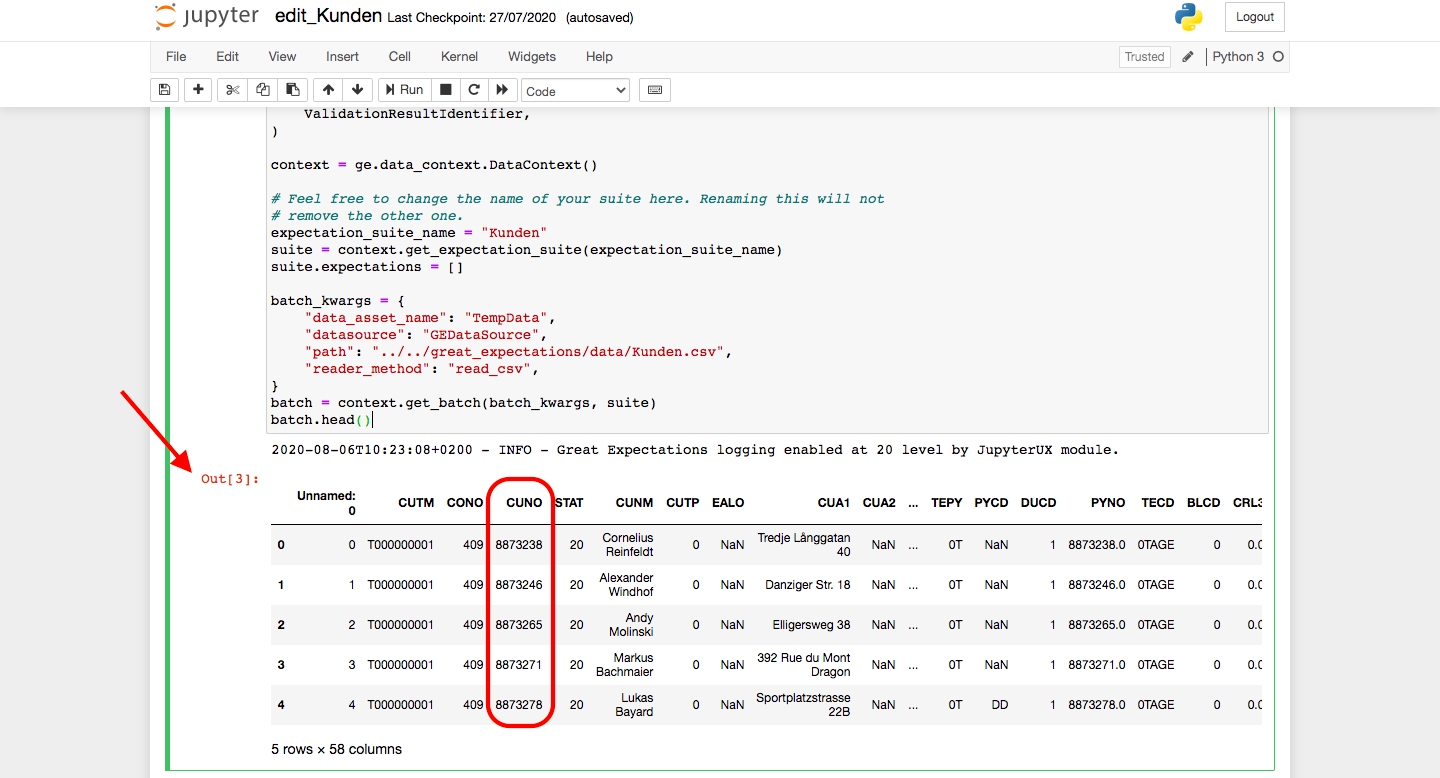
First of all, we are going to run the first input command to see the output data we get. Furthermore, it is an important first step, so you can get started with your customized creation and edit of new expectations. All you have to do is click on the upper part of the Jupyter Notebook, and run the first input, as shown below with the arrow.
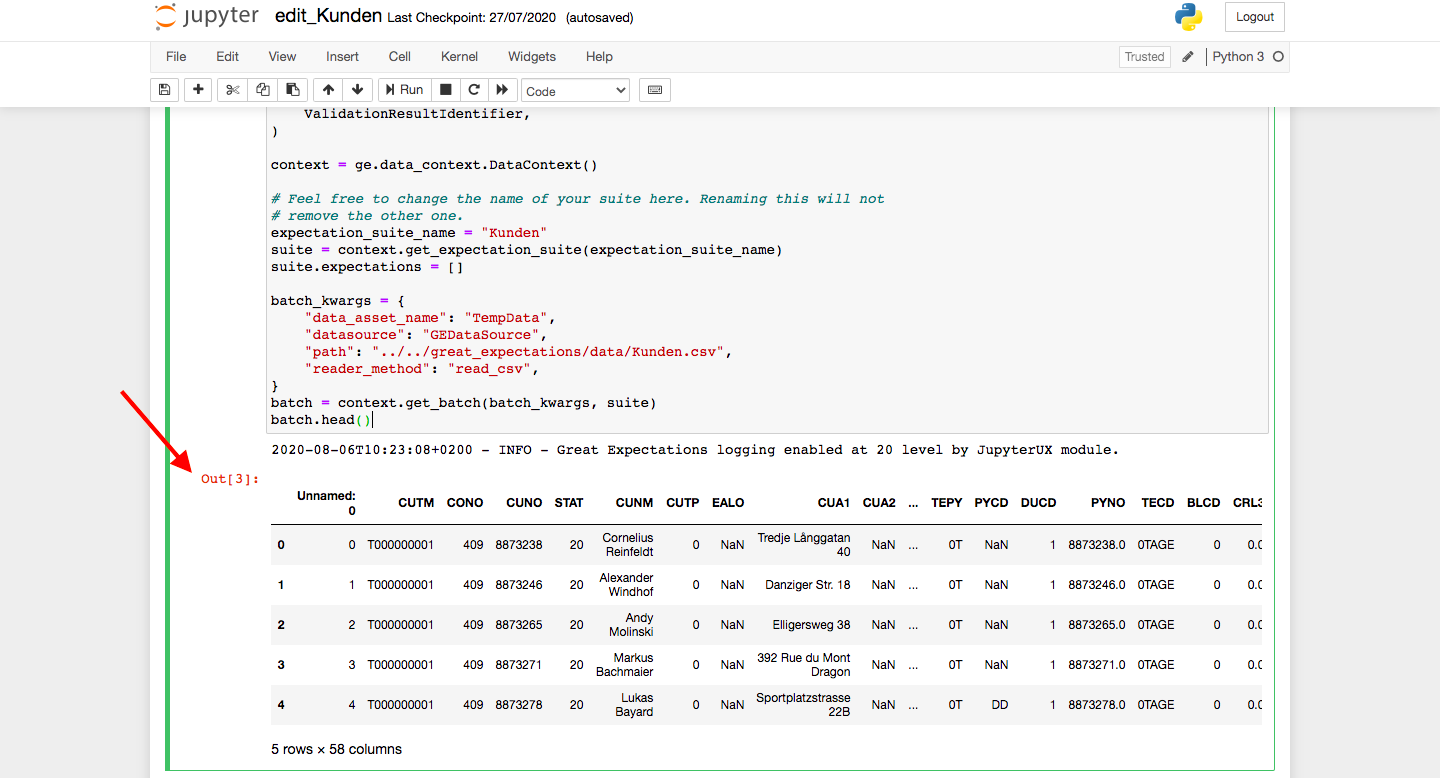
So the output that we get is the following one:
Now we can start creating and editing our desired expectations. Moving down to the next steps, we enter Create & Edit Expectations. It is important to know, that for any doubts or further explanations you can always check out the expectation glossary Nevertheless, you can see that you can put your new or modified expectation requirements in Table expectations (for tables) or Column Expectations (for each column).
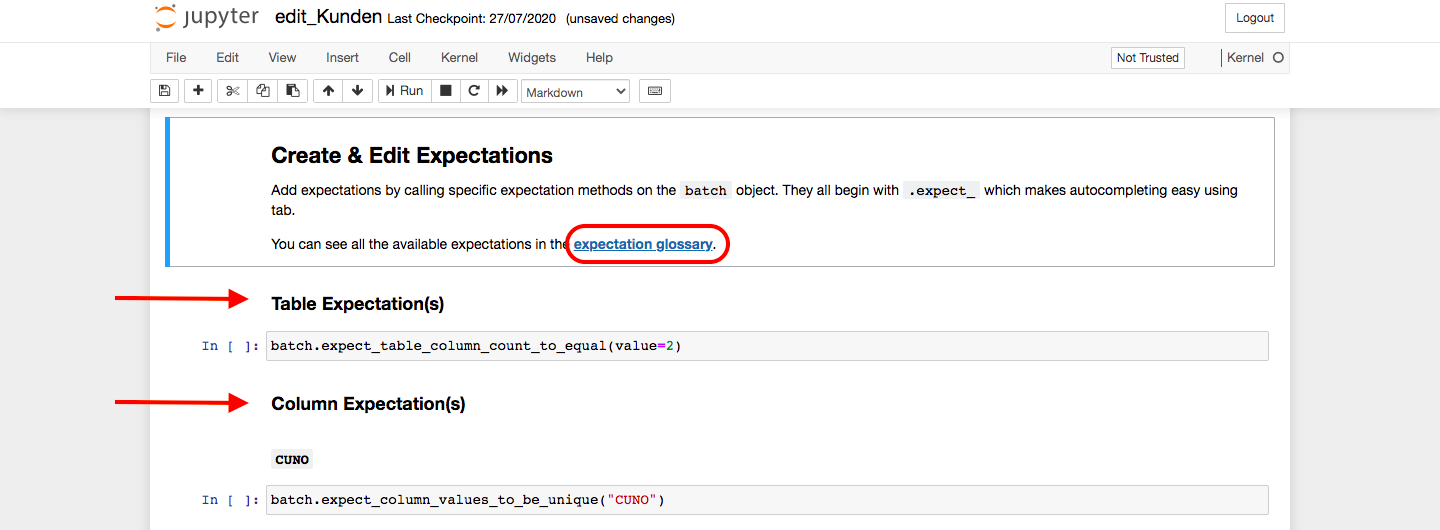
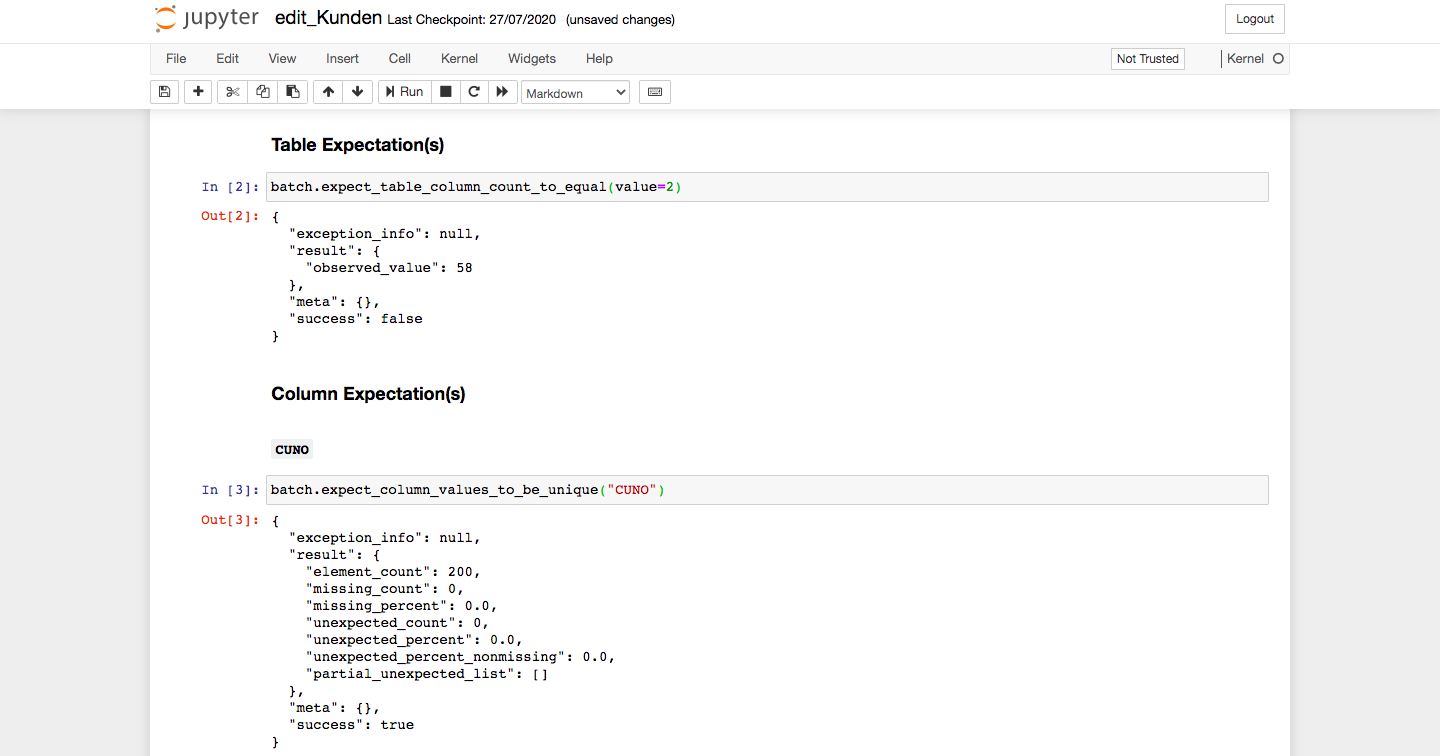
As an example, we are going to run a new expectation for Column Expectations, and what we want to do is to put a requirement for the column named “CUNO”, so that all values are unique. You can always check out the existing columns by coming back to the first output, where your working data is.
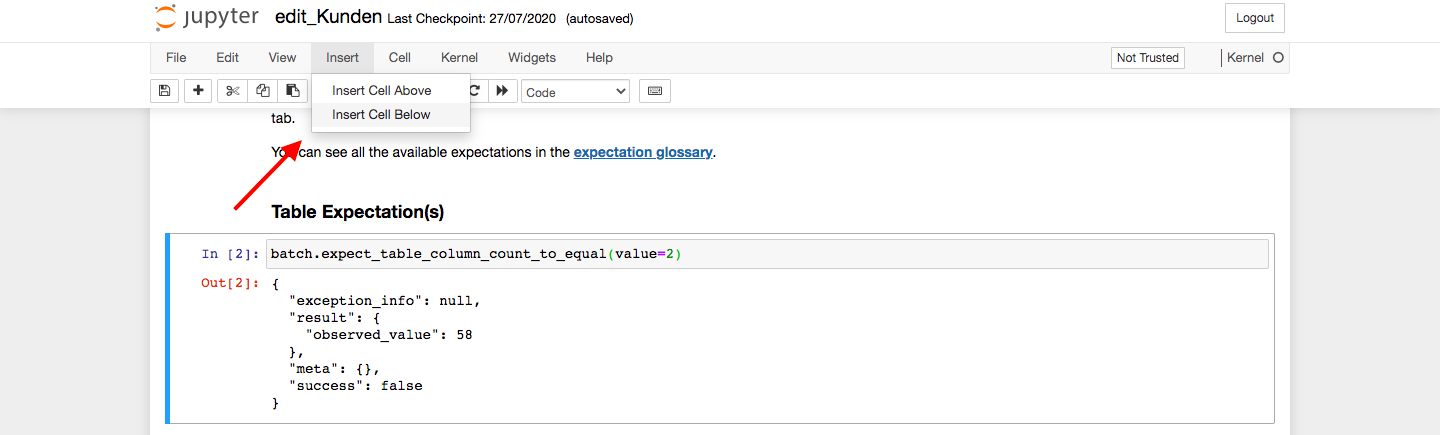
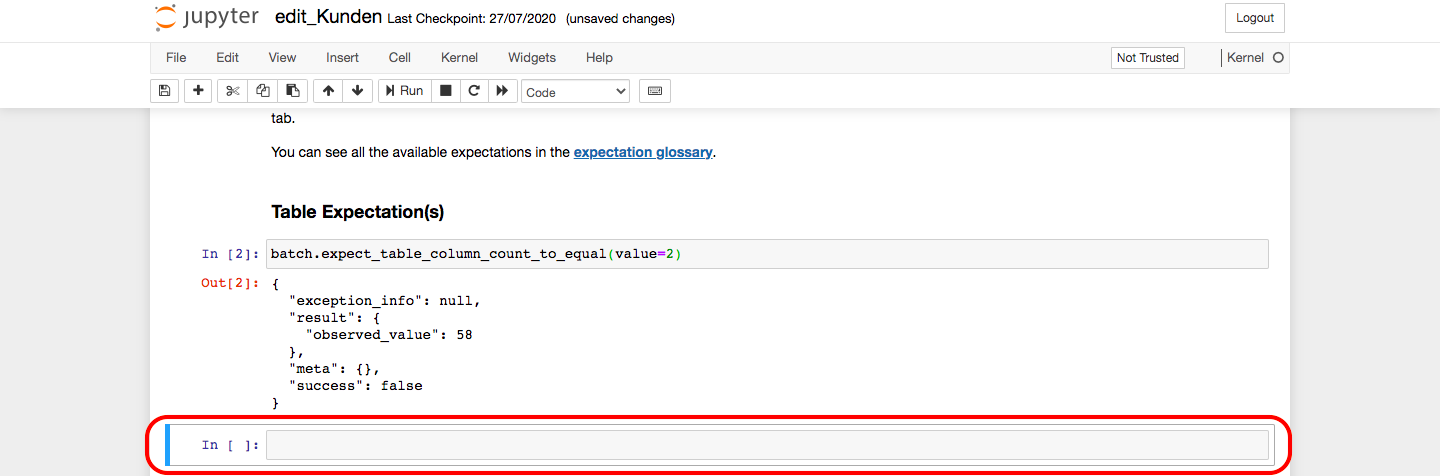
Finally, in case you want to add more expectations (new cells), whether for tables or for columns, just be sure to be in the input row of Table expectations, for example. Then you can choose in the upper part of jupyter to insert a new cell below or above.